Unit 2: Photoshop
Flickr Albums:
- Spring Break Photo Assignment
- Photoshop Album:
- Andy Warhol Photo
- I'm not here Photo
- Inception landscape Photo
- FREE CHOICE of one of the above
- Double Exposure Photo
|
|
|
The Un-Selfie Self-portrait
Link to the Un-Selfie Assignment-LINK
Ask yourself: How do you want to be seen? This should guide you as you plan and compose your self portraits.
Ask yourself: How do you want to be seen? This should guide you as you plan and compose your self portraits.
Family and Friend Portraits
20 Techniques to Stretch your portrait photography
READ Article: PART 1-10 ways to take stunning portraits
READ Article: PART 2- 10 MORE ways to take stunning portraits
Take photos of your family and friends practicing the techniques listed on these 2 pages. In your Flickr Album, you should demonstrate at least 10 of the 20 techniques and have your images edited and properly labeled within your album. You must label each image with the technique you used.
Photoshop-Double Exposure Portraits
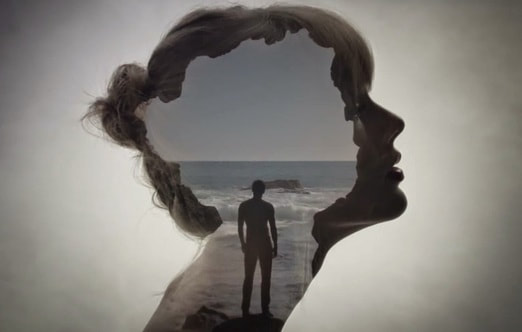
What you need to begin:
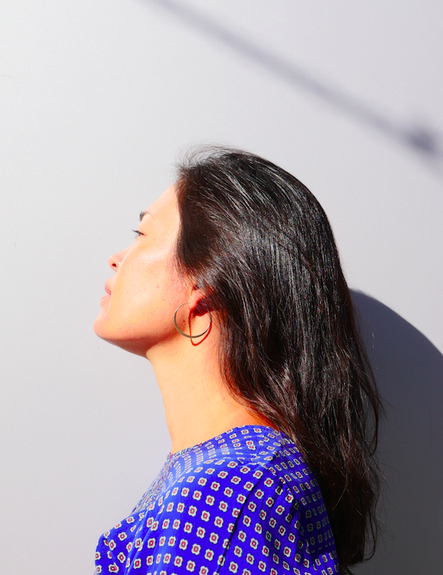
1. a high-res side profile photo of yourself where your silhouette is clearly defined on a plain white or neutral background. The light source should be on your face. Avoid shadows if possible.
2. a high-res daytime landscape/cityscape photo (ideally, a place you have visited/lived/your nationality etc) It should include some sky, so we can see a horizon of some sort.
Links for landscape/cityscape photos:
Flickr CC-search bar: cityscape or landscape-download original size of photo
Jonathan Bean Landscape Photos
|
|
|
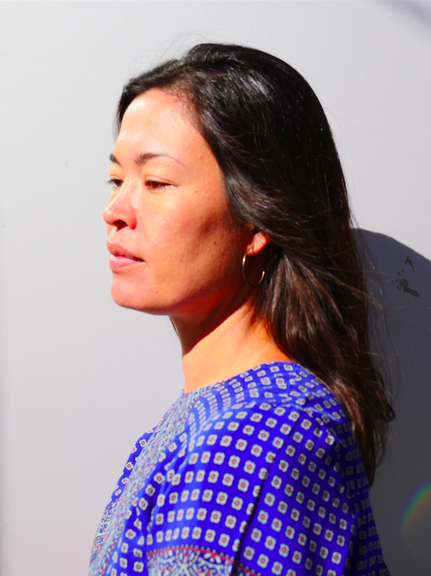
SIDE PROFILE PORTRAIT: Look at my 2 examples above. There are 5 other photos that were not as sharp or my eyes are closed or I'm squinting. I like the one on the right side better than the left because you can see more of my face. I took this out in the courtyard against one of the columns in the sunshine. It works as a plain background. Notice my face is towards the sun....keep your face towards the light.
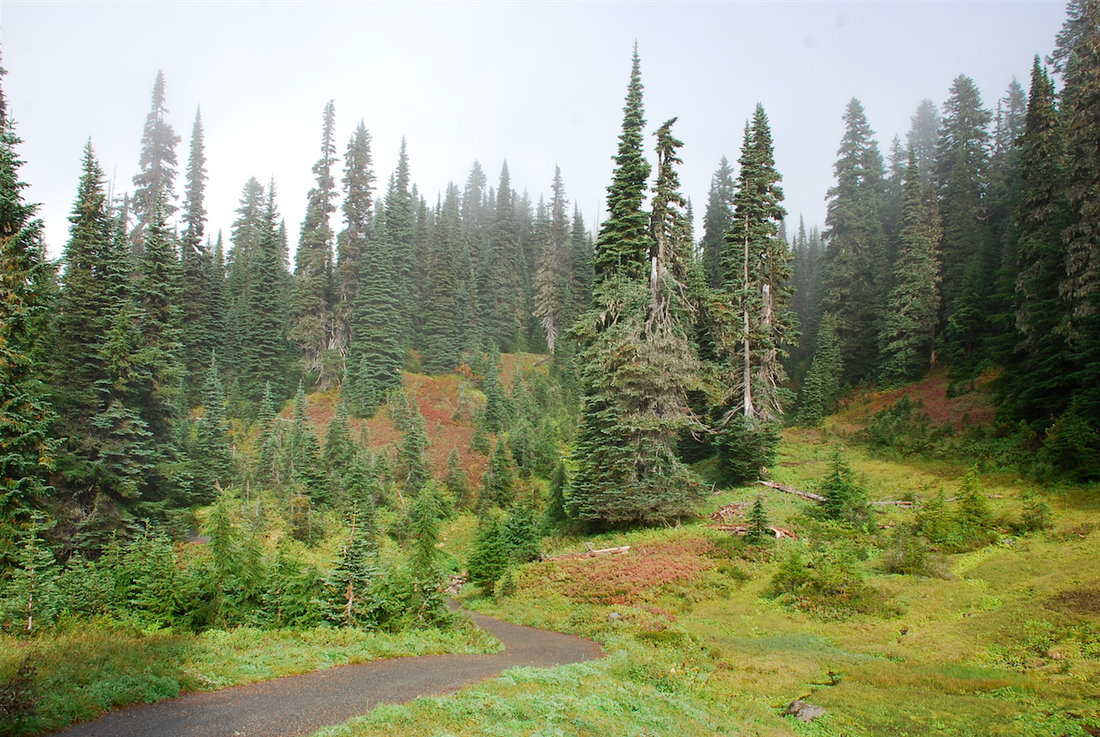
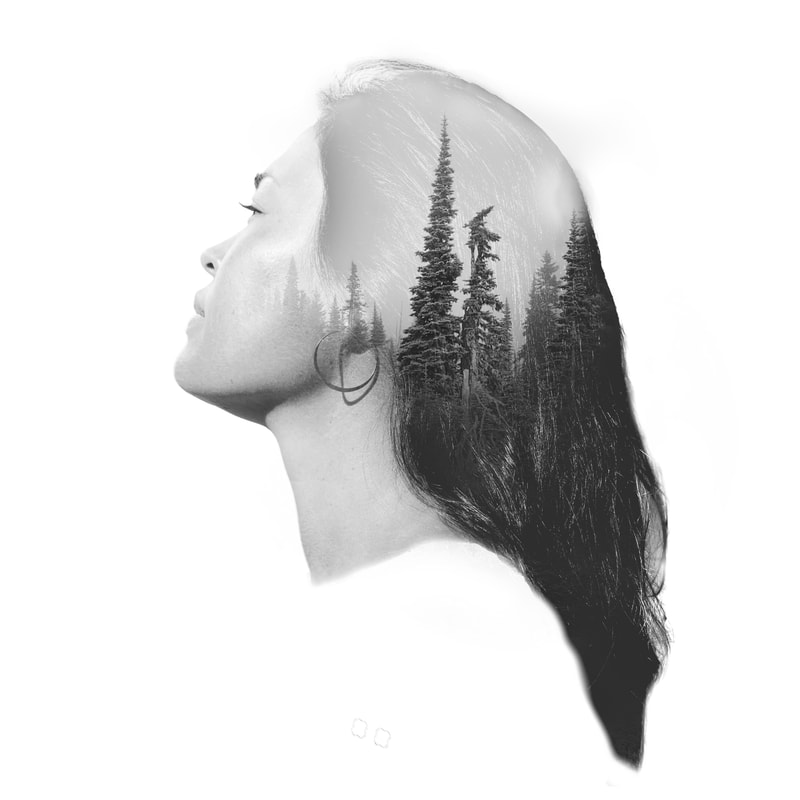
LANDSCAPE: I decided to choose a forest view because forests hikes are one of my very favorite things to do. I found this image through the Flickr CC link I pasted above for you. I searched for "forest vista". I made sure there is a horizon (meaning I can see some sky) because the outline of the trees will make for an interesting shape in the double exposure. Do not take a screenshot of your landscape, you need a large high resolution photo. |
|
Double Exposure Tutorials
Here's another tutorial that a previous student found helpful: link to an alternative double exposure tutorial.
Below are more COMPLEX video tutorials than the previous one, but some students took on the challenge of following it for more options in their background. Give it a go if you're keen.
Below are more COMPLEX video tutorials than the previous one, but some students took on the challenge of following it for more options in their background. Give it a go if you're keen.
|
|
|
|
Photoshop-I'm not here Faceless Self Portraits
Pol Ubeda Hervas-LINK to album
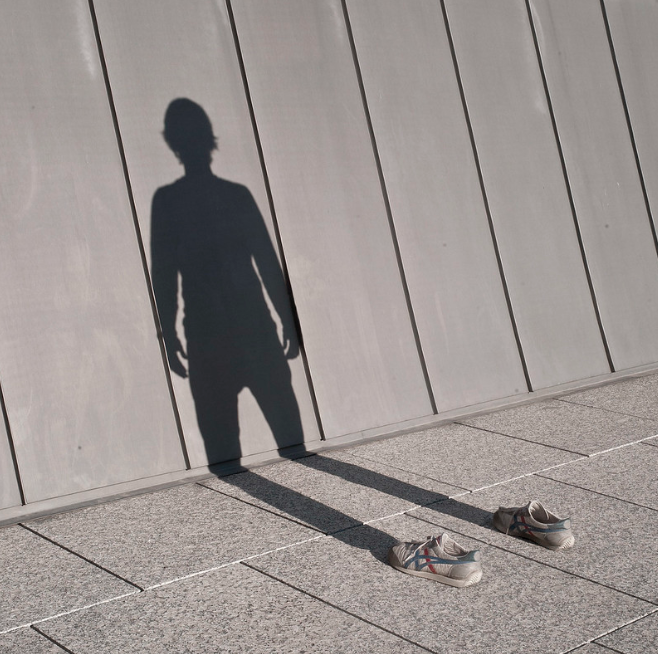
The first thing we need to do is to take 2 photos with a tripod. It should be a SUNNY day where you can have a long cast shadow, so early morning or mid to late afternoon.
If you don't have access to a tripod, try to use the self timer and prop your phone on something and make sure it will not move for both your photos.
Find a spot that you like. Think about POINT OF VIEW for your tripod and camera. Look at the examples by Pol Urbeda above to help you with ideas.
2 people=1 model, 1 photographer
They key is using the tripod to make sure the camera is in the same position/angle when taking both photos.
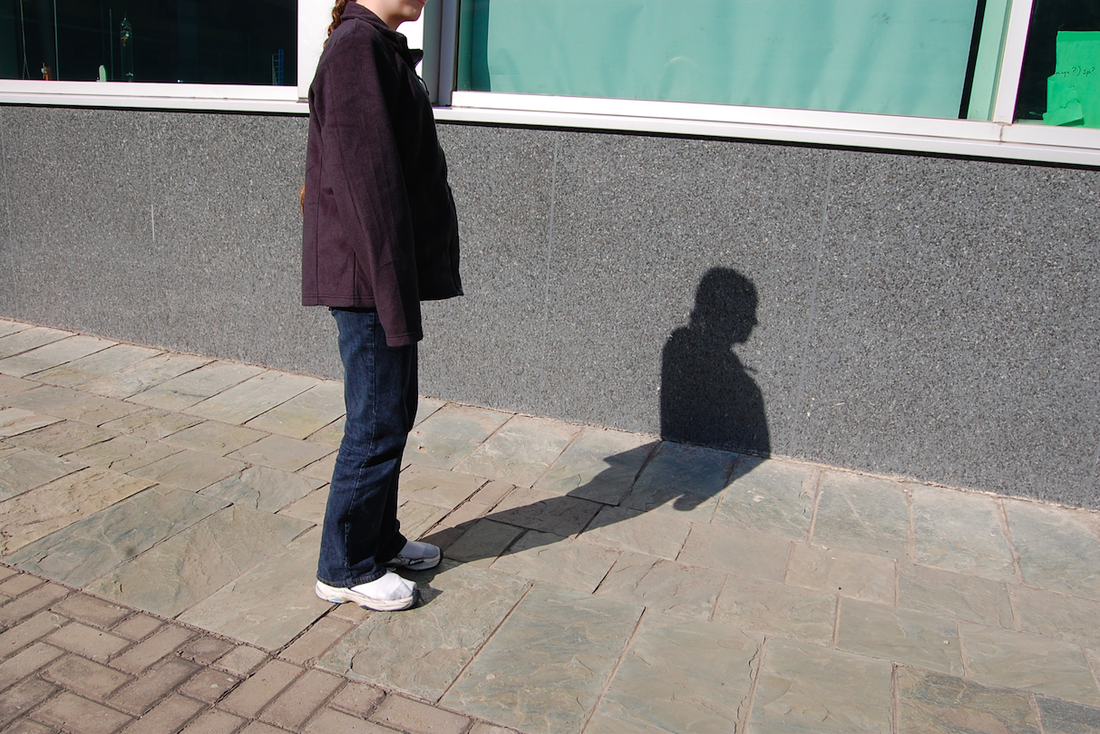
1. Photo 1-Model standing on top of their shoes
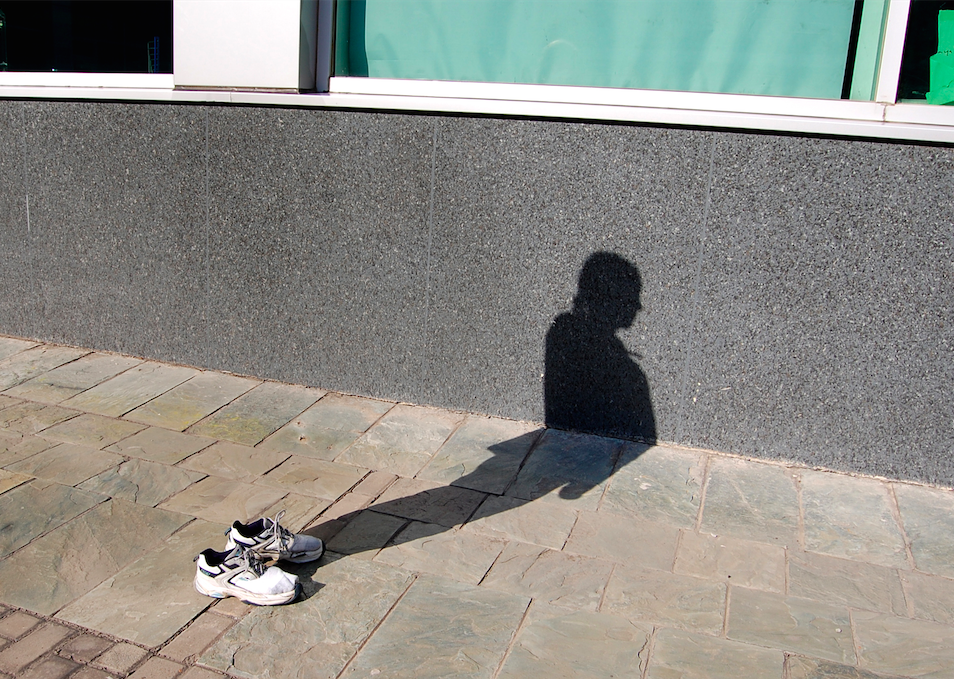
2. Photo 2-Photo of shoes by themselves
If you don't have access to a tripod, try to use the self timer and prop your phone on something and make sure it will not move for both your photos.
Find a spot that you like. Think about POINT OF VIEW for your tripod and camera. Look at the examples by Pol Urbeda above to help you with ideas.
2 people=1 model, 1 photographer
They key is using the tripod to make sure the camera is in the same position/angle when taking both photos.
1. Photo 1-Model standing on top of their shoes
2. Photo 2-Photo of shoes by themselves

|
|
Tutorial-I'm not Here
Andy Warhol Style portrait
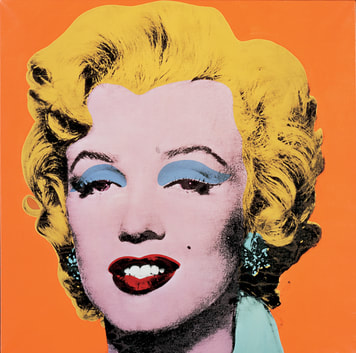
Pop Artist Andy Warhol used photographic silkscreen to create his celebrity portraits. This method of printing creates a very precise and defined image and allows the artist to mass-produce a large number of prints with relative ease. Warhol adopted the methods of mass production to make images of movie stars that were themselves mass-produced. Now we have fantastic and easy shortcut to create the same visual style that Andy used in his silkscreen portraits on a photo image in Photoshop.
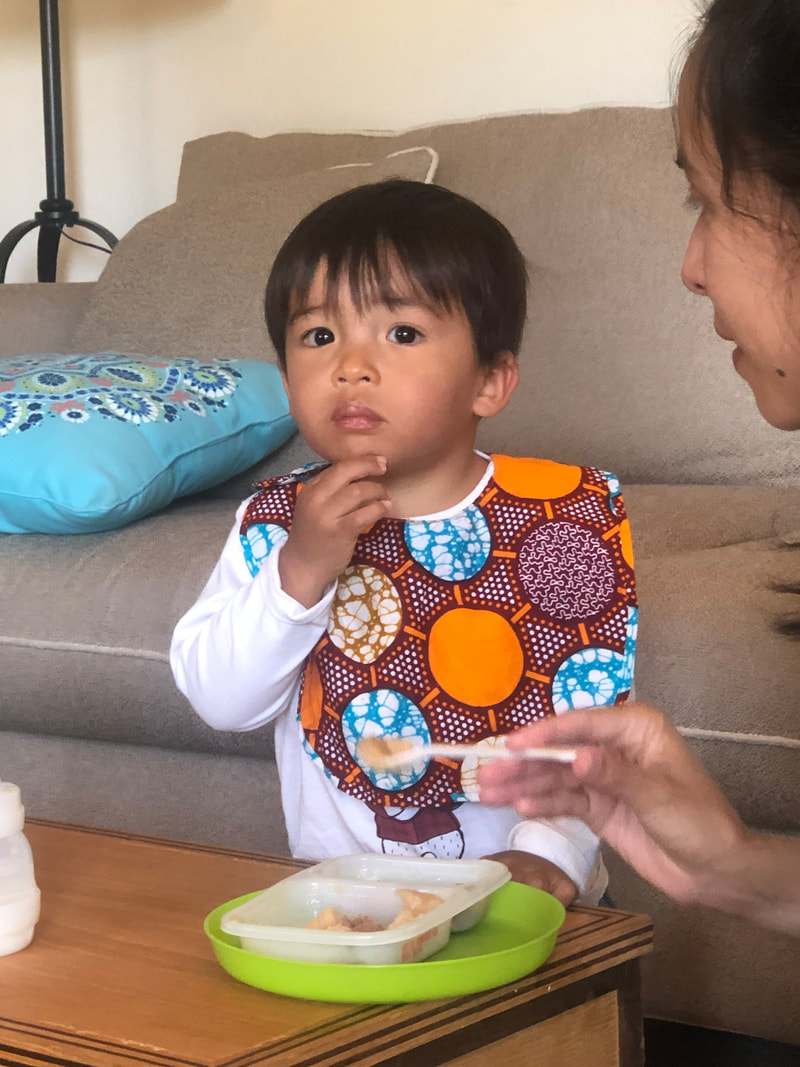
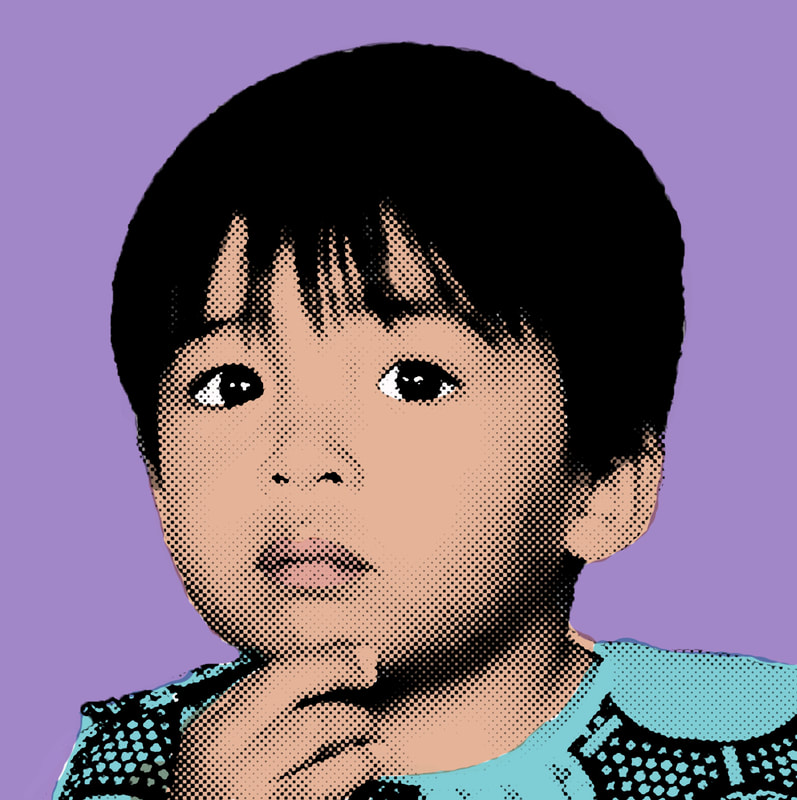
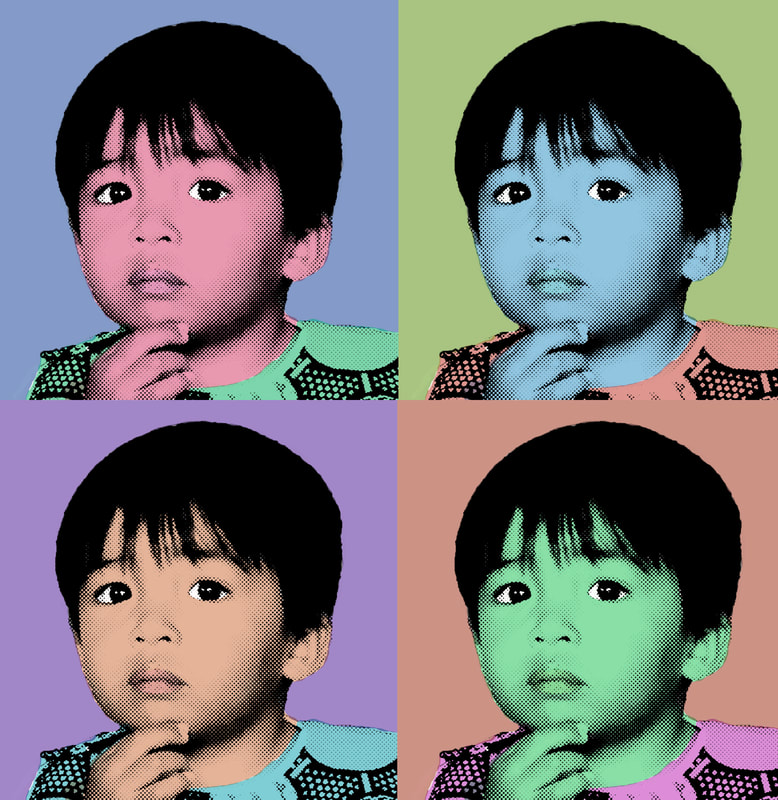
Below is an example I tried out with a photo of my nephew.
|
|
|
Andy Warhol Style Tutorials
This first tutorial shows you how to do the halftone pattern filter, which I think is an honest representation of Warhol's screenprint style. But I find the steps after that to be confusing so after you know how to do the halftone pattern filter, move on to the next tutorial.
The tutorials below show you how to color. They are the exact same tutorial, just in different languages.
The tutorial on the left is in English.
The tutorial on the right is in Spanish.
The tutorial on the left is in English.
The tutorial on the right is in Spanish.
|
|
|
Remember to save your image as a JPEG and upload this photo into your Flickr Photoshop album.
