Skill Practice
Resources:
Watercolor Jump Start-Watercolor Skills Youtube Playlist
Excellent introduction into the different ways you can manipulate watercolor.
Excellent introduction into the different ways you can manipulate watercolor.

|
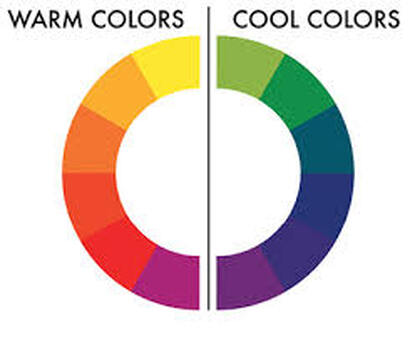
1. Exploring Transparency: 2 colors
You will need watercolor paper, a pencil, an eraser, a ruler, your water brush and your palette. You are choosing a warm color and a cool color in your palette. Use a ruler to draw 4 long strips, one for each value. Start with your darkest value and slowly make your way to your lightest value. Aim for smooth even strokes of pain in each of your value bars. |
|
|
|
|
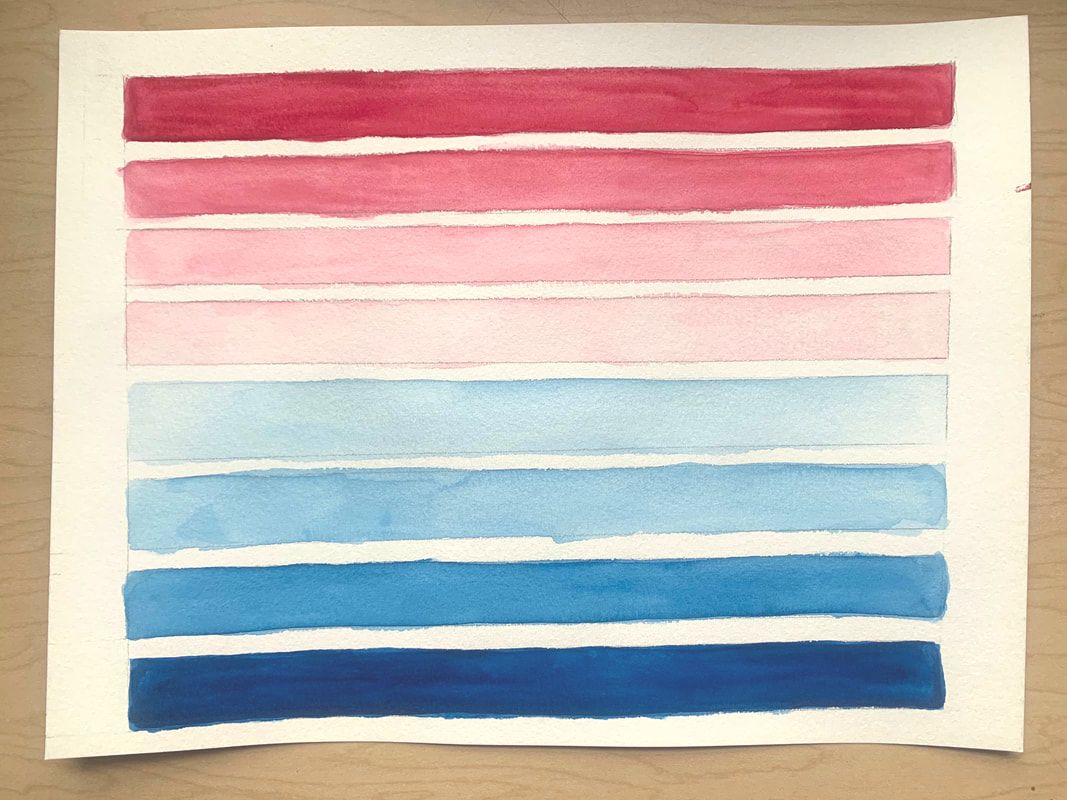
2. Exploring Mark Making
In this exercise, you will create equal 3 columns on a page of watercolor paper. Obviously if you paper is on the larger side, then 3 columns may fit. If it's on the smaller side, perhaps do 2 columns per page.
Use a ruler and a pencil to lightly draw the outline of each column.
Choose 3 different colors from your watercolor paint palette. 1 warm/2 cool or 2 cool/1 warm
In each column explore a variety of marks you are able to create with your brush. Experiment with your brush.
ADVANCED STUDENTS: Your additional challenge is to create a variety of marks with a range of values! See my green and orange column in the image below. My blue column doesn't show a wide range of values for each mark.
Below is the video tutorial demonstrating mark making with watercolors. The instructor in the video is using a variety of brushes but 1 round watercolor brush is all you need. I used the same water brush for my mark making sheet.
The purpose of this exercise is for you to create a variety of marks with your brush, and also to develop some control with your hand in how you hold and use your brush.
|
|
|
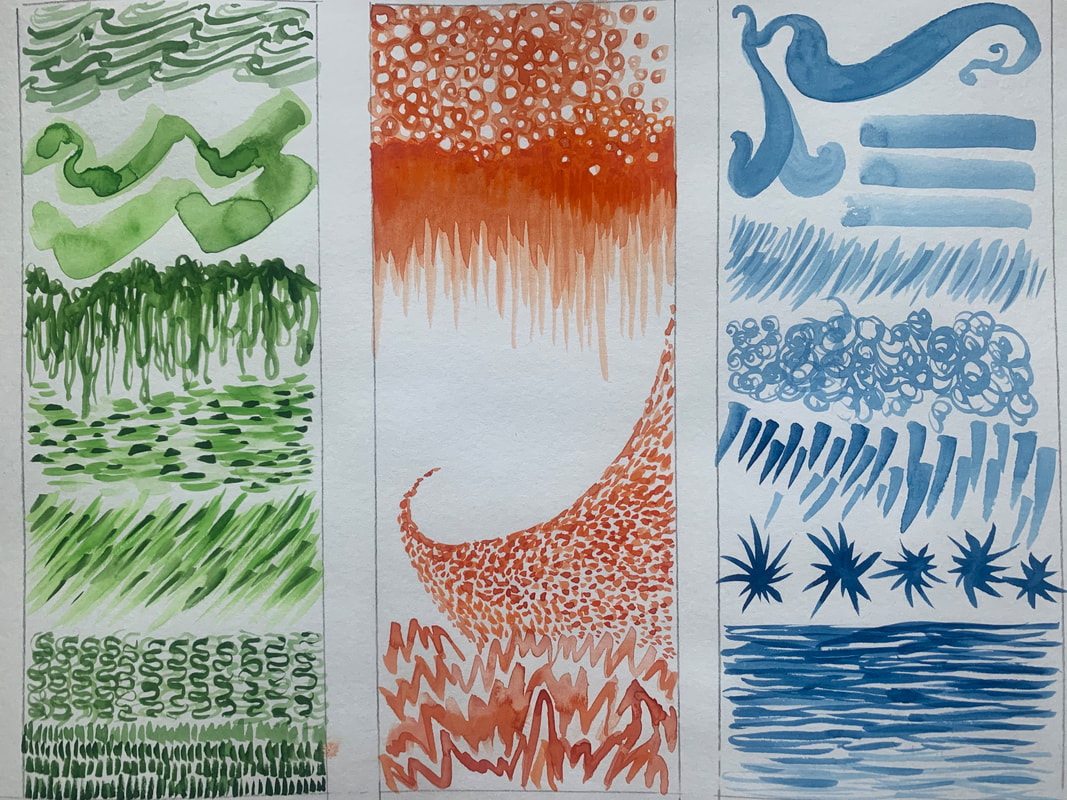
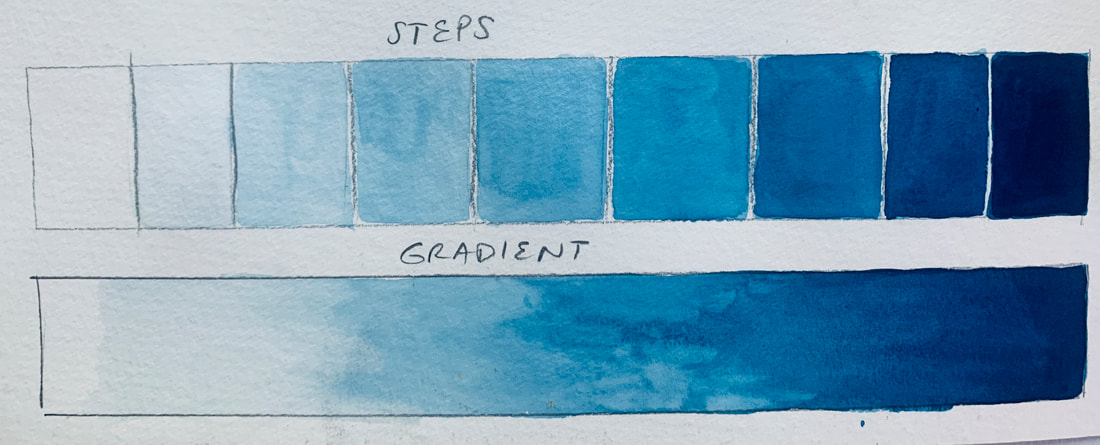
3. Value Scales
Before we begin our monochromatic still life, you should practice doing 2 value scales.
The purpose of doing this exercise BEFORE we do our monochromatic still life is that we will have a bit of practice controlling and distinguishing our dark values from our mid-values to our highlights.
- 1 Value Scale in 5, 7 or 9 value steps, with each value step separated from the other.
- 1 Value Scale in 1 bar with all value steps overlapping, like a gradient.
The purpose of doing this exercise BEFORE we do our monochromatic still life is that we will have a bit of practice controlling and distinguishing our dark values from our mid-values to our highlights.
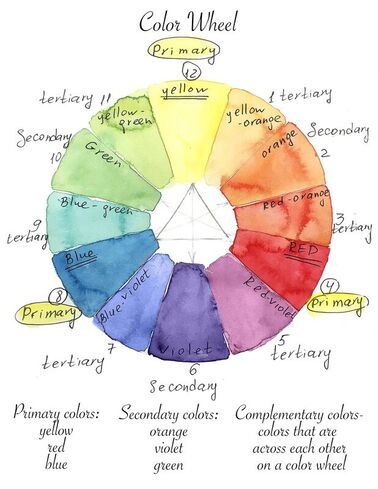
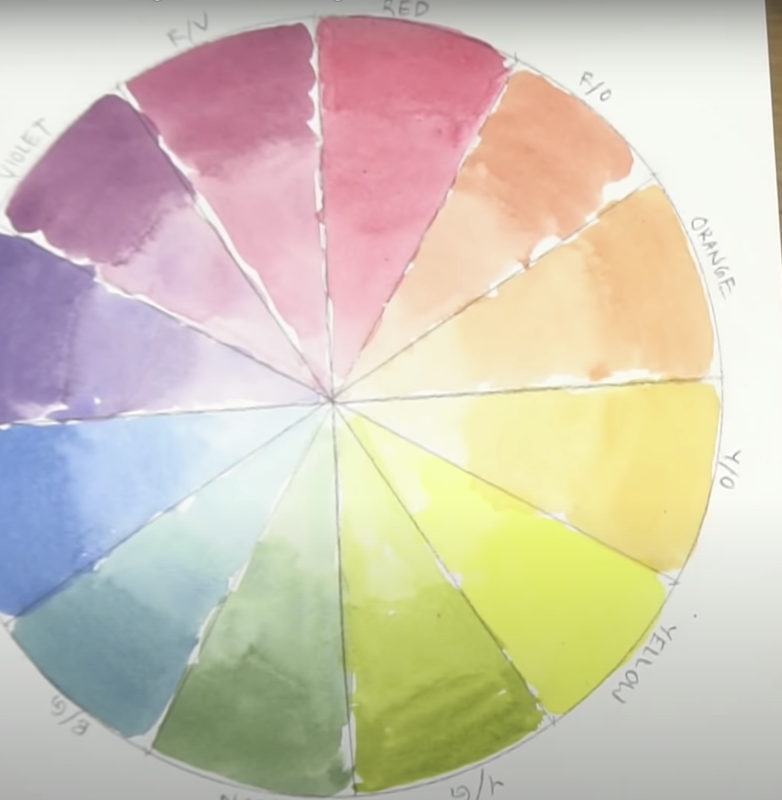
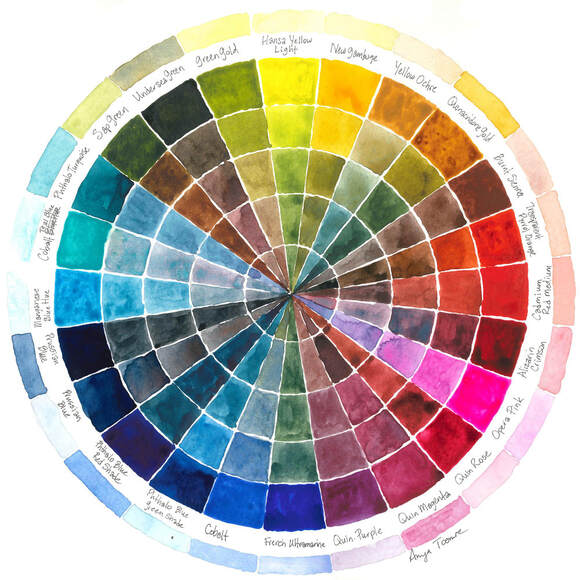
4. Watercolor Color Wheel: An exercise in mixing your unique color palette
Watch the tutorial below to draw out your color wheel circle.
Use only the primary colors to create all the colors you need on your color wheel : RED, YELLOW and BLUE.
The goal is that you will develop the ability to mix your own secondary and tertiary colors after this exercise.
Use only the primary colors to create all the colors you need on your color wheel : RED, YELLOW and BLUE.
The goal is that you will develop the ability to mix your own secondary and tertiary colors after this exercise.
|
|
|
|
|
5. Wet on Wet Technique Practice
In this exercise, I'd like you to explore the wet on wet technique of painting watercolor. This is probably the most important technique as it is allows colors and values to blend effortlessly due to the nature of the water on the paper's surface.
In the wet on wet exercise, you will use 1 sheet of paper and create 4 rectangles or squares on your paper.
You should demonstrate these 4 techniques within the broad umbrella of the wet on wet technique:
|
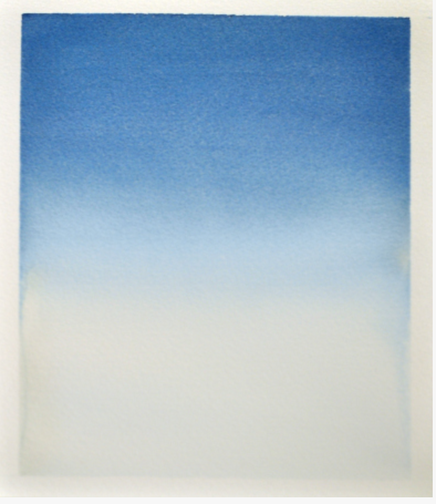
1. GRADIENT of 1 COLOR-light to dark
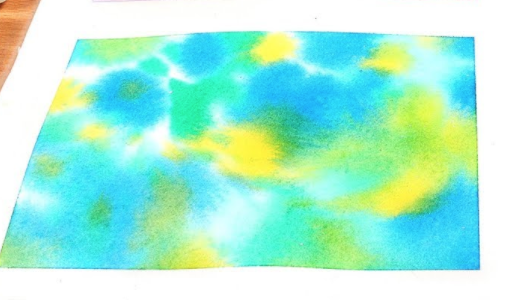
3. WET on WET COLOR BLEND with 3 ANALOGOUS COLORS (colors next to one another on the color wheel)
|
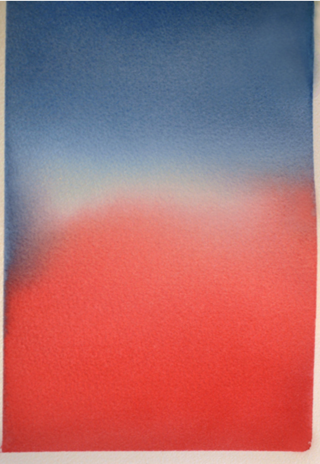
2. GRADIENT of 2 COLORS-dark on the top and bottom and light in the middle where they meet
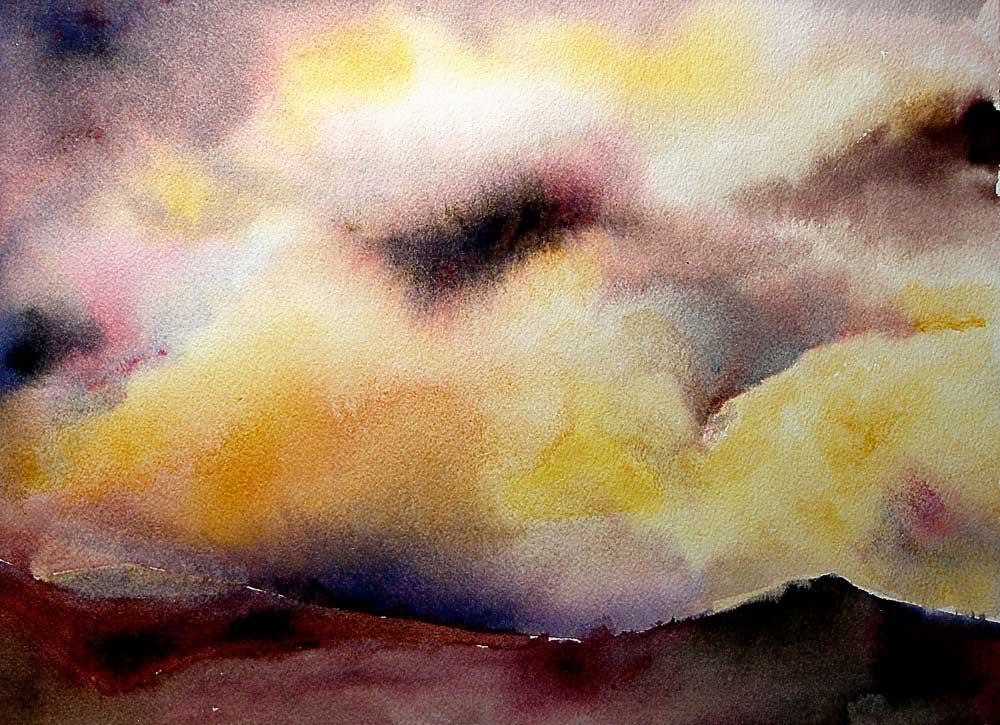
4. SUNSET SKY inspired WET ON WET COLOR BLEND (find an image of a sunset as inspiration for you)
|
Tutorial below:
Start at 1:45
Skip advertisement at 5:35-6:42
You do not need to add branches and a bird to your 4th rectangle of a sunset sky. I am looking to see you tried blending a few colors using the wet on wet technique to emulate a sky.
Start at 1:45
Skip advertisement at 5:35-6:42
You do not need to add branches and a bird to your 4th rectangle of a sunset sky. I am looking to see you tried blending a few colors using the wet on wet technique to emulate a sky.
|
|
|
